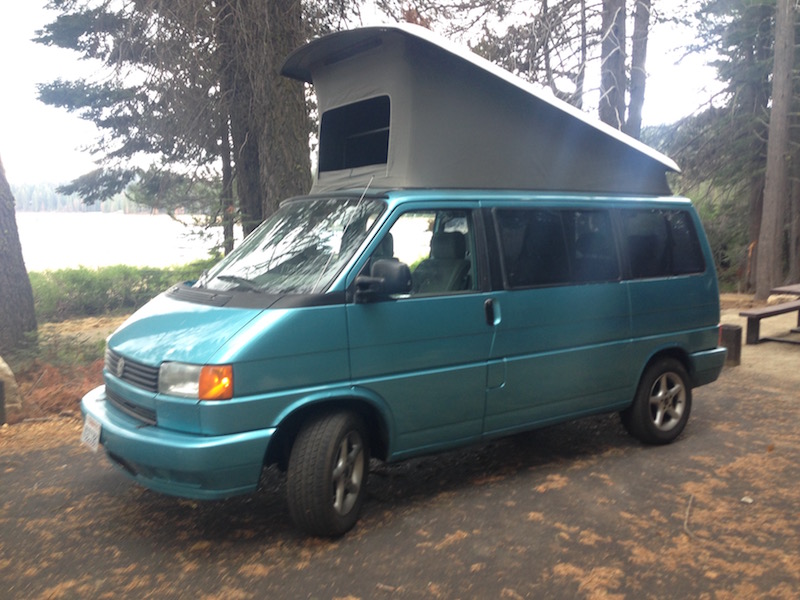
Westfalia conversion (more explanation to come…)
-cut out roof and replace hardtop with Westfalia pop top. (easier said then done but not too difficult!. If you go this route buy *entire* Westfalia pop top roof from junkyard).
-fix a/c ducting for rear passengers for new Westfalia pop top
-add coach battery under driver’s seat
-add 12V fridge
-add inverter and outlets
-rewire interior lights and radio to run off coach battery
Here's a few pics of the conversion.
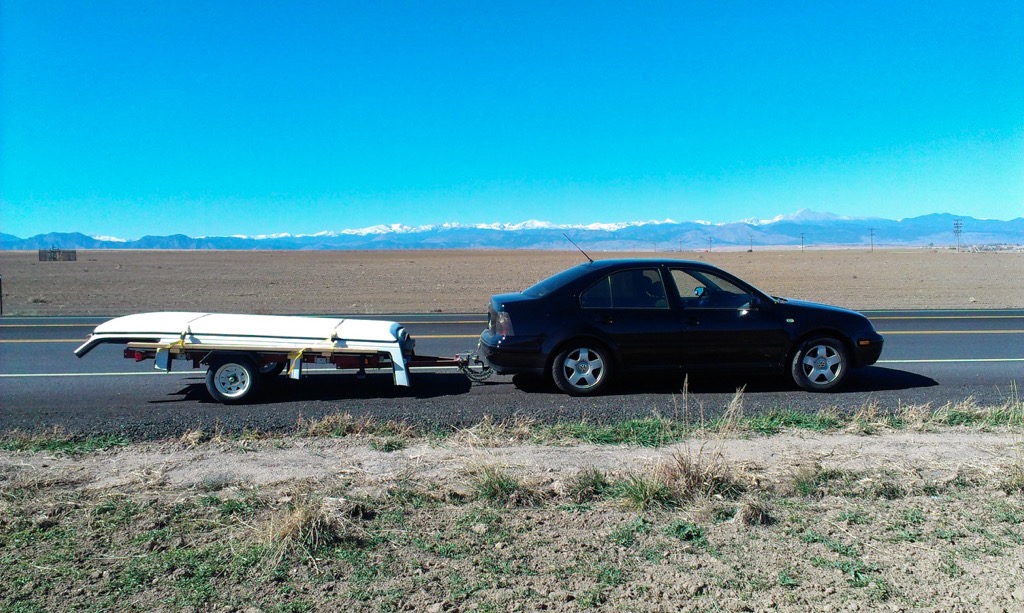
I picked up my pop top from a junkyard in Denver and put it on a little Harbor Freight trailer. 3 day round trip and a lot of fun times. Even slept in it for a few hours on the way home!
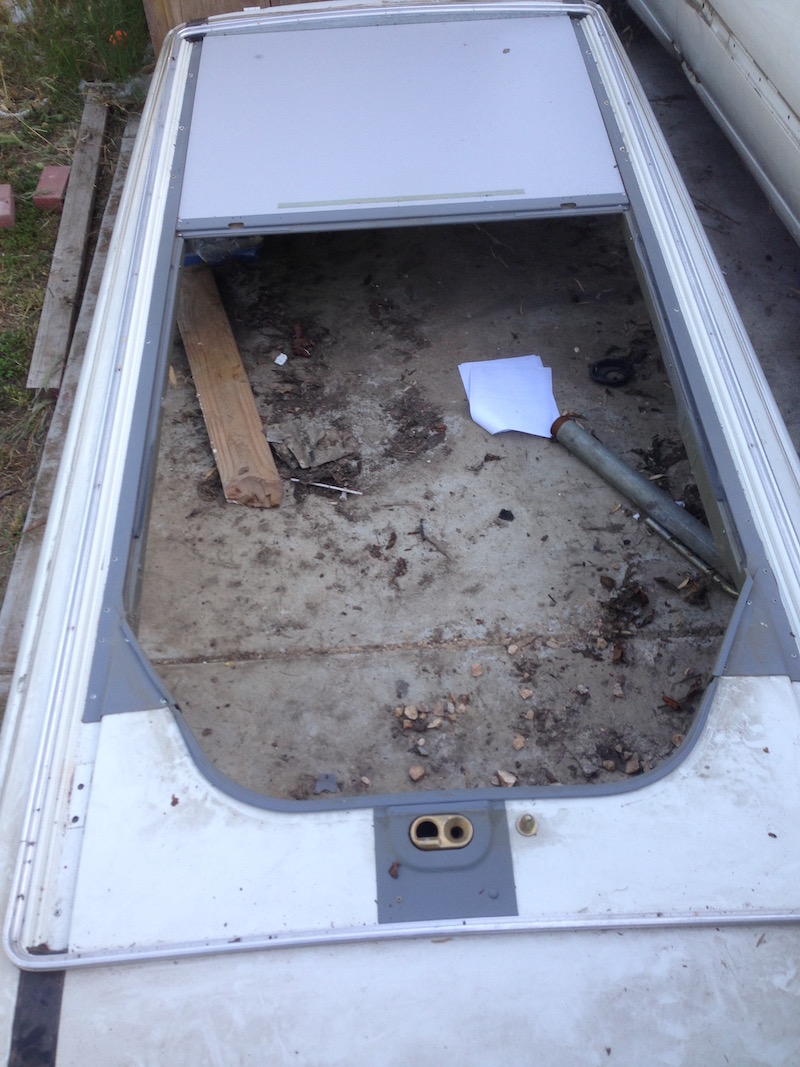
A view of the top with the fiberglass shell removed. By having the whole top available the actual conversion to the new Eurovan was relatively straightforward - I just made a template and followed the exact cuts from the old to the new. All the rivets get drilled out and then re-riveted in place.
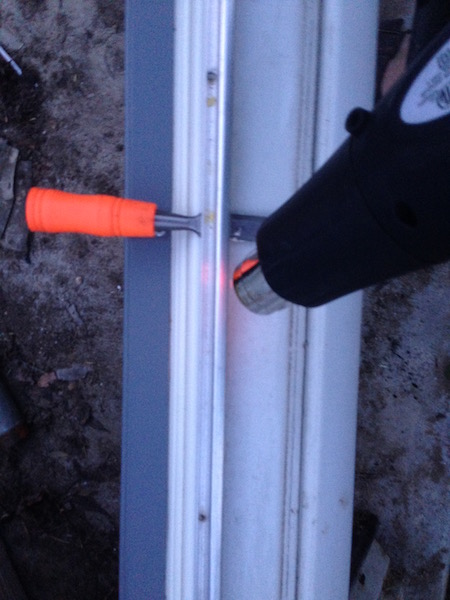
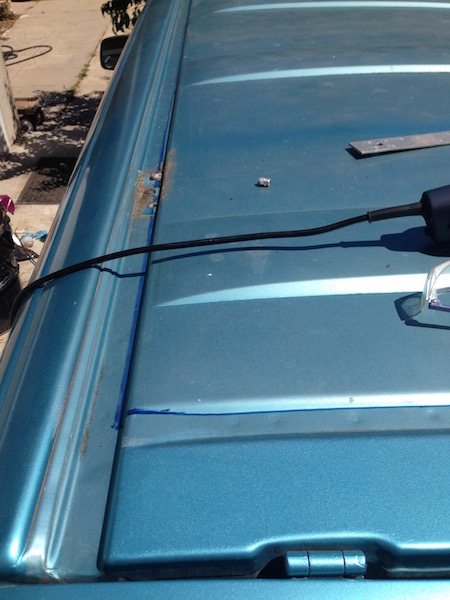
The heat gun was a good friend to get off all the glued down pieces, including the trim piece that holds the tent in place.
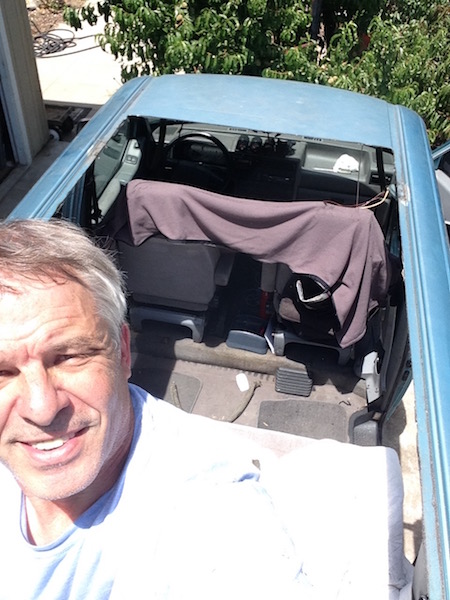
The scariest part was making that first cut in the roofline. No turning back now! I thought it getting the cuts just right would be very difficult; it turned out the factory cuts are quite straightforward and, assuming you have the whole roof of the donor weekender, you also have a template. I used a steel cutting blade on a skill saw for most of the cut, and a reciprocating saw for some of the corners.
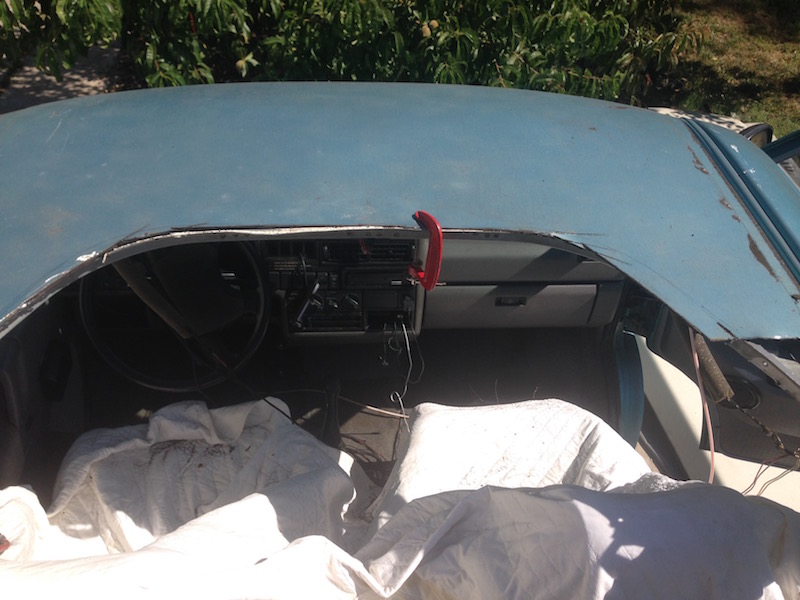
The deed is getting done!
Attaching the aluminum support brace in the front of the van. A little trim work still needed to be done at this point, but everything is covered up by the plastic trim so perfection is not necessary, though preferred : >
The finished result.